Get Started
Contents
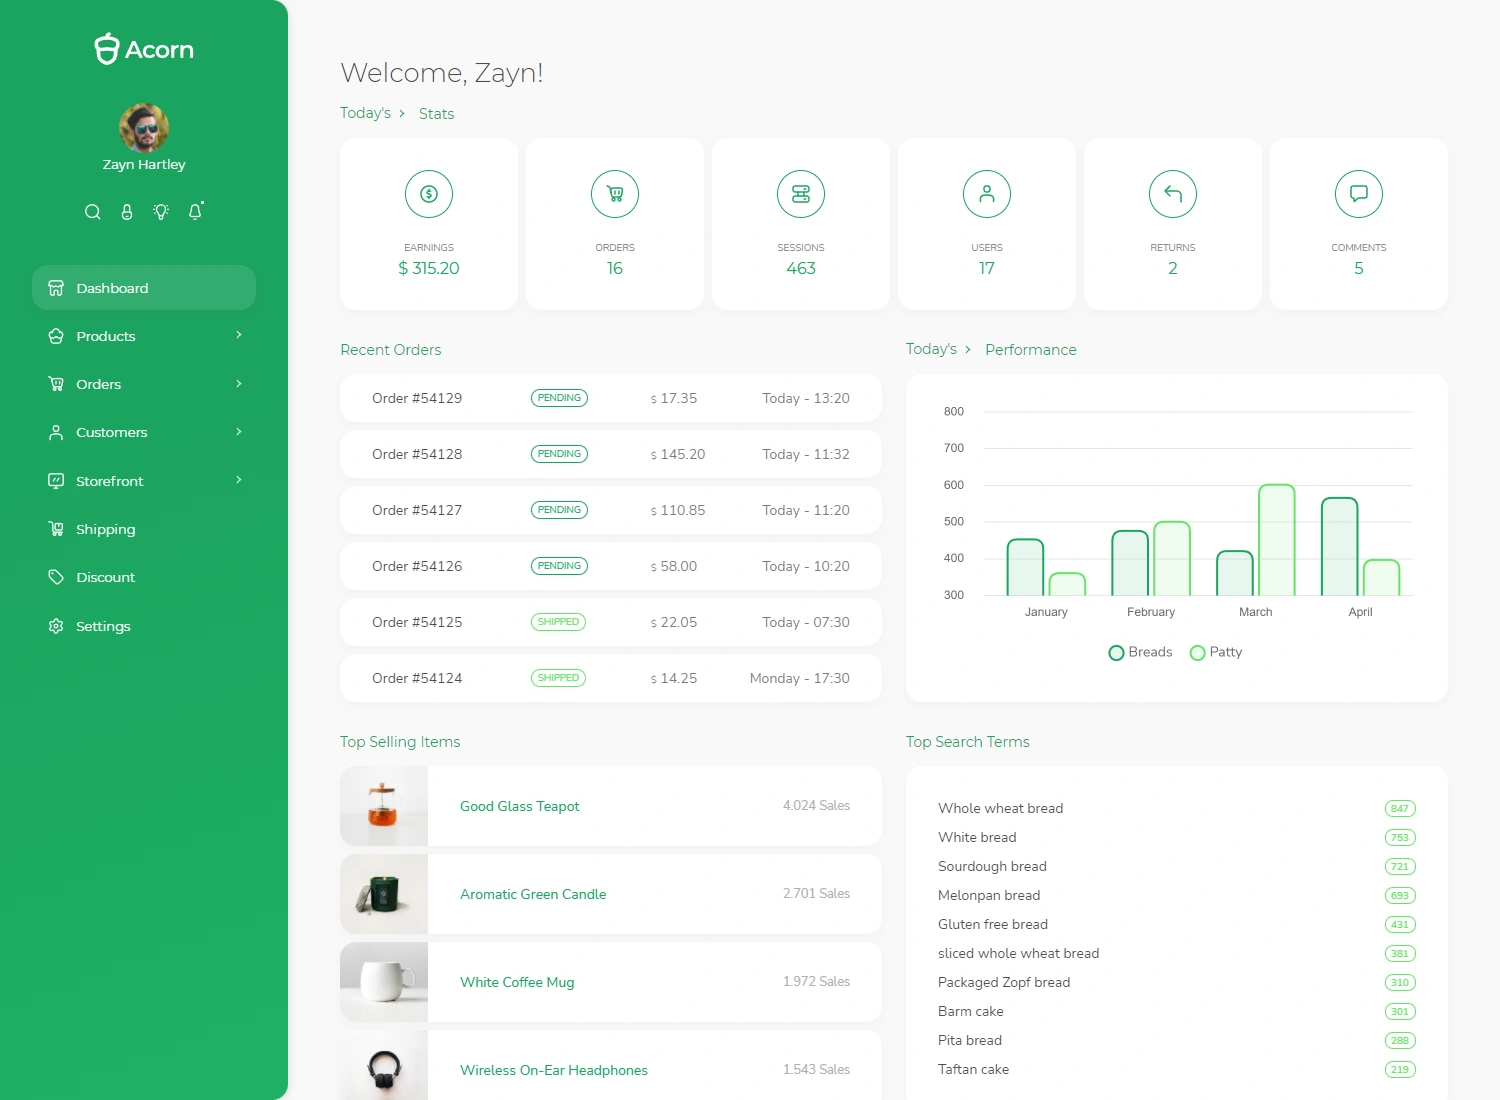
Every niche is a separate project and they work in it's own folder without requiring files from another route. Every niche project folder contains layout, views, javascript and sass files.
Each project is developed as simple as possible to make your work easier. When defining the route, creating a controller is avoided and is only defined to return the view. Therefore, the code for each page is in its own view razor file.
Project Folders
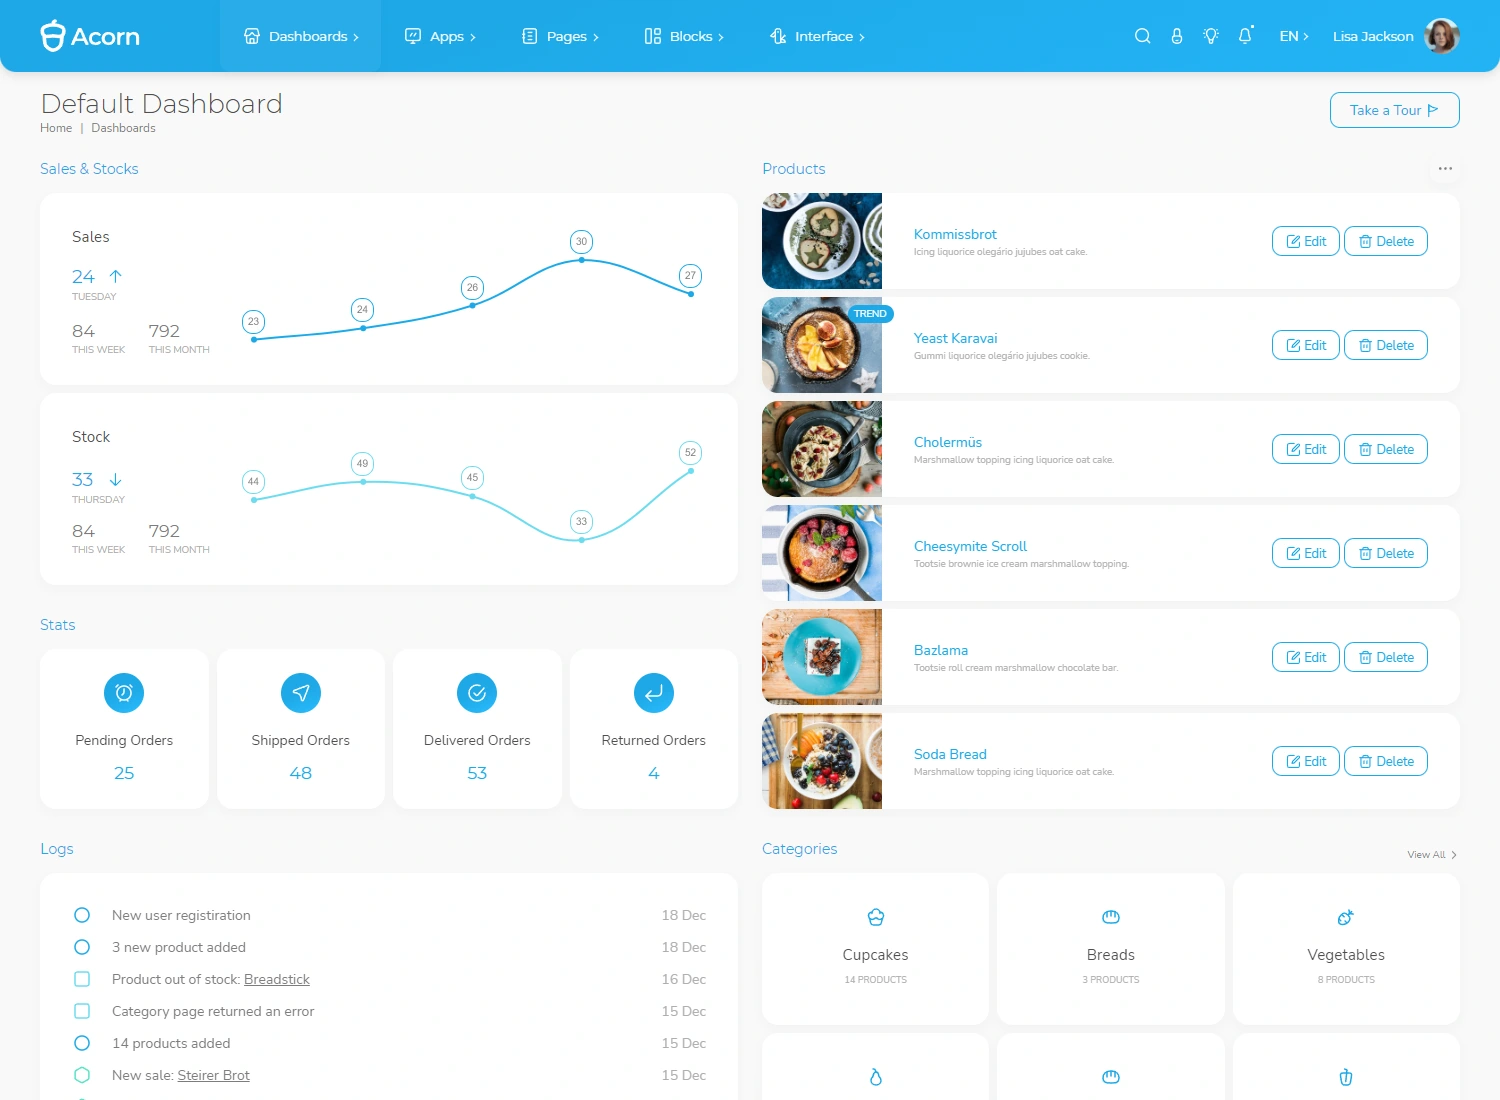
- acorn-dotnet-classic-dashboard
- acorn-dotnet-ecommerce-platform
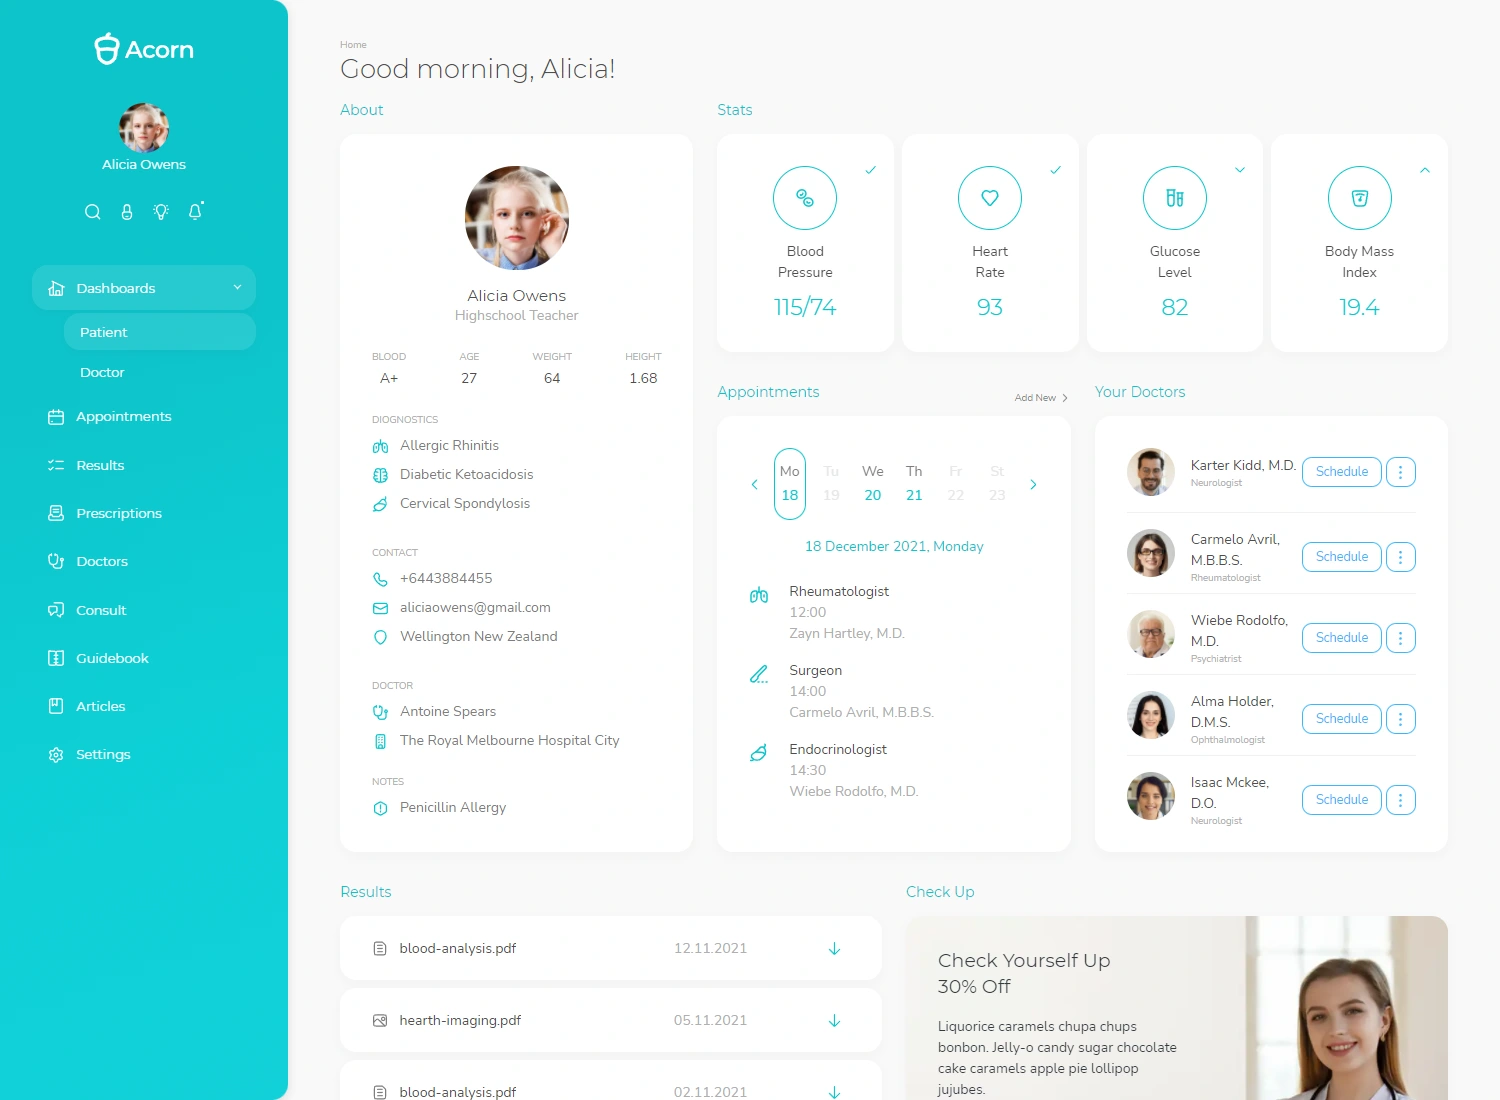
- acorn-dotnet-service-provider
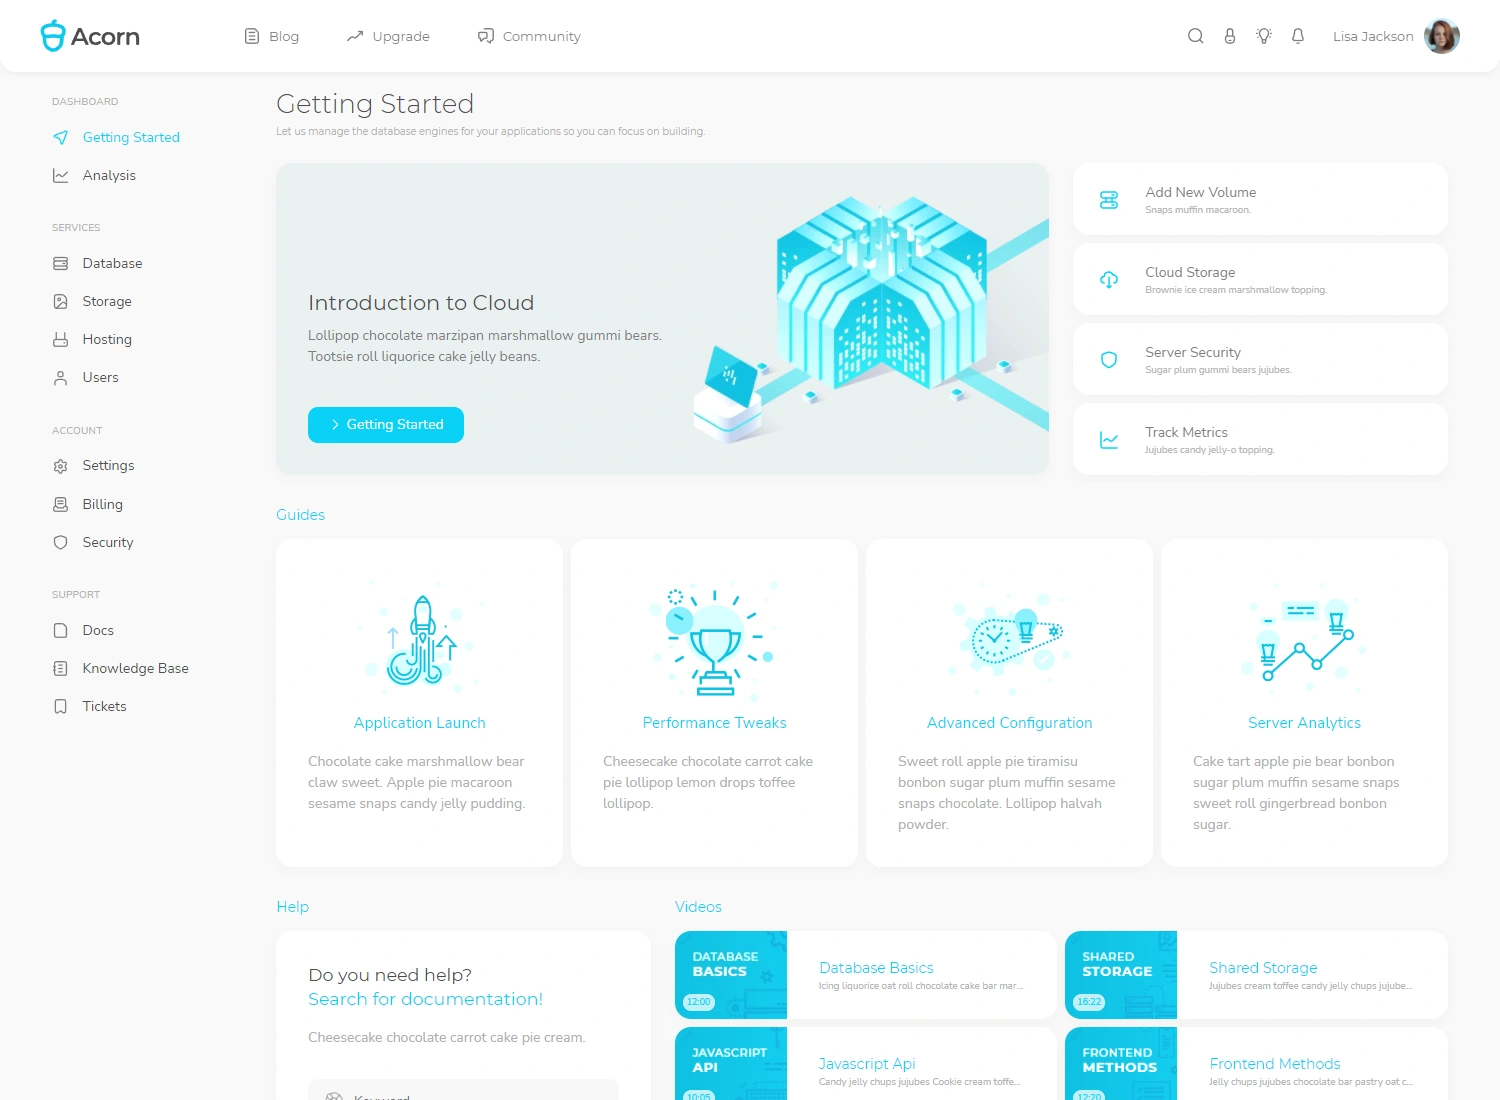
- acorn-dotnet-starter-project
Requirements
To start building .NET apps, download and install the .NET SDK (Software Development Kit).
Nodejs and gulp must be installed to compile sass files on client-side, as recommended in the Microsoft documentation. Click to get information about Nodejs & gulp installation and usage.
Installation
Extract the zip file, navigate to one of the projects and follow the steps below to run the project on your system
Run your terminal in the project's directory (net5/acorn-dotnet-classic-dashboard) and launch the project locally with .NET SDK.
If you run the project first, it may take some time to install the necessary dependencies.
dotnet run Acorn.csproj
The project will run at localhost:5000 by default. If you want it to run on a different port, you can have a look at the .Net SDK documentation .
If you want to make css changes in sass files, your changes must be extracted as compiled css file to the wwwroot folder. So you should install nodejs dependencies in project and then run gulp default task.
npm install
gulp
For the changes you make in the scss file to affect your project, it will be enough to run the gulp task after the change.
gulp
Deployment
First of all, you need to compile sass file for production environment.
gulp prod
You can get builds for production very easily with .Net SDK.
dotnet publish Acorn.csproj -p:PublishProfile=FolderProfile -f:'net5.0' -o '$PROJECT_DIR$/publish'
For all the next steps, you may follow the instructions in the Microsoft documentation .
